INSTALL | SINGLE HINGED
Table of Contents
DIY Install Kit
Ensure you have our unique Lennox Security DIY Kit
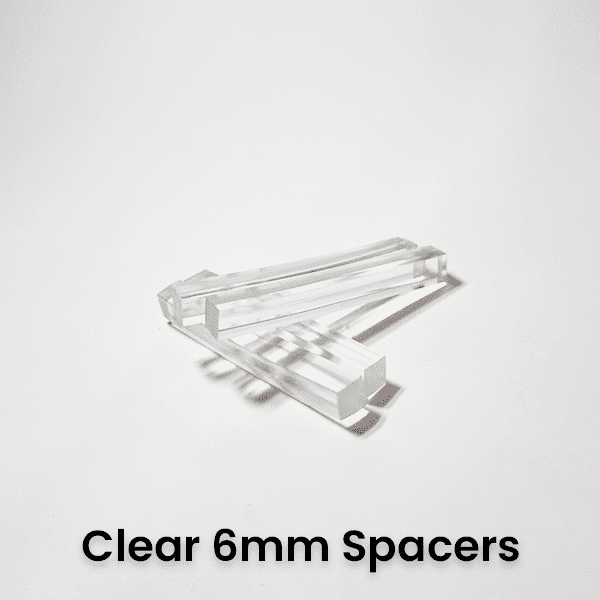
- 4 x Clear 6mm Spacers
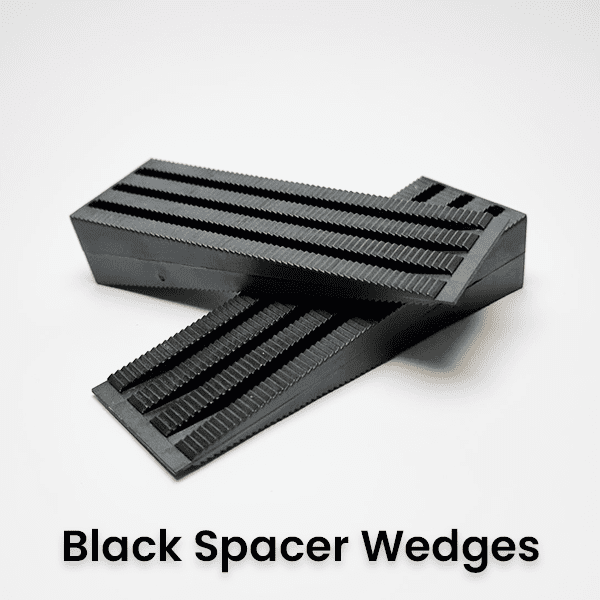
- 2 x Black Spacer Wedges
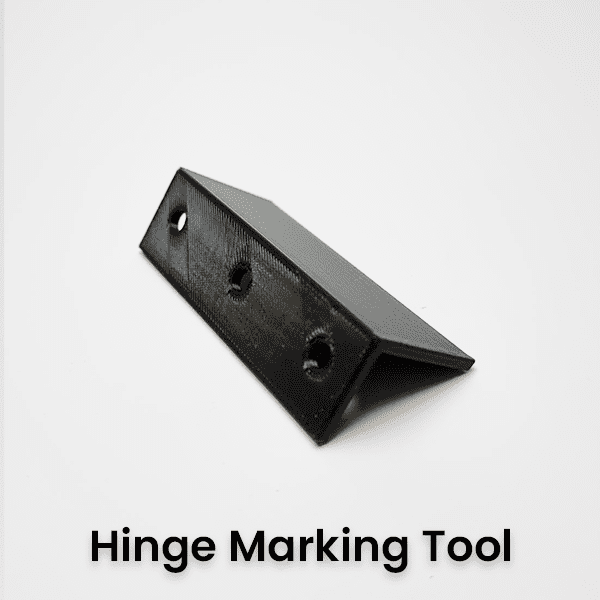
- 1 x Hinge Marking Tool
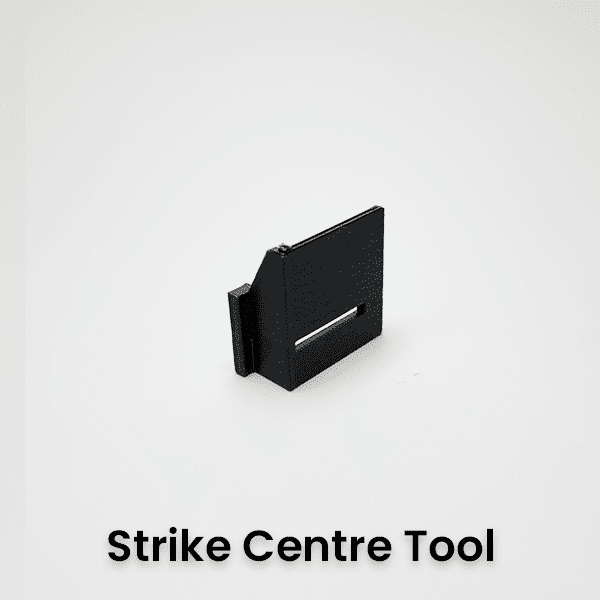
- 1 x Strike Centre Tool
- 1 x Strike Marking Tool
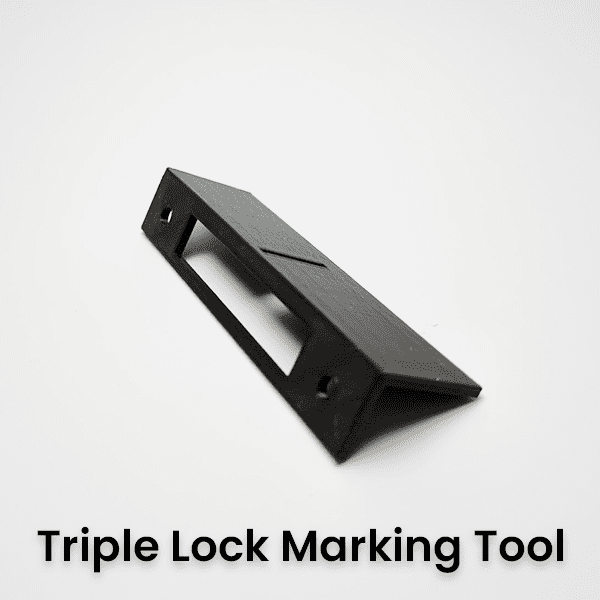
- 1 x Triple Lock Marking Tool
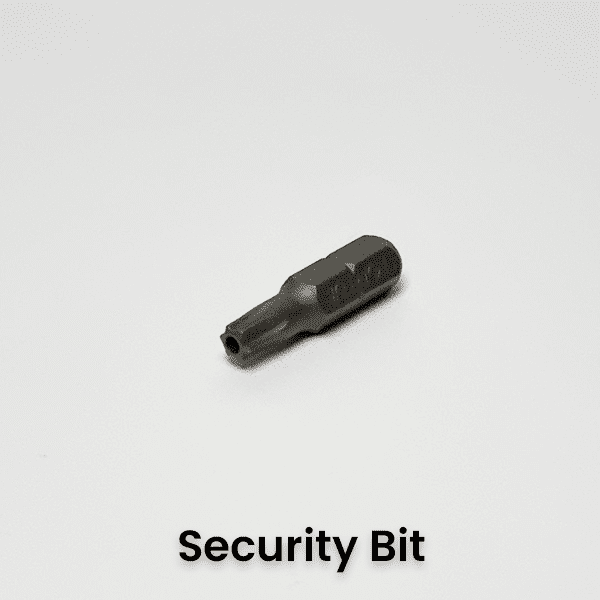
- 1 x Security Bit
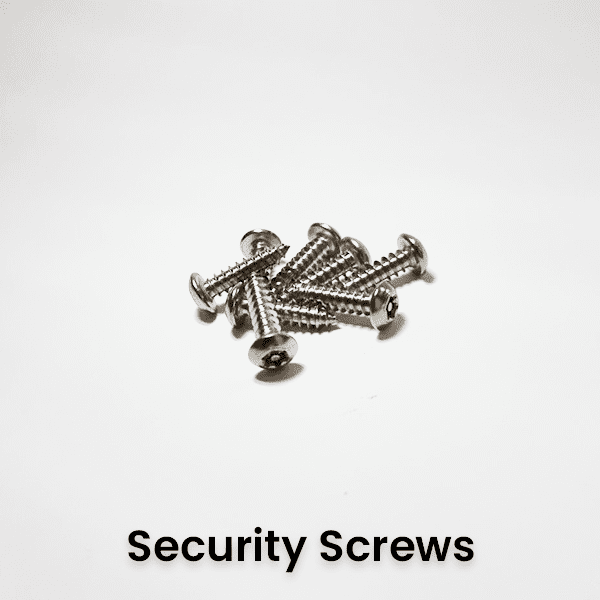
- 18 x Security Screws
- 1 x Lennox Security Pencil
1. Mark the hinges
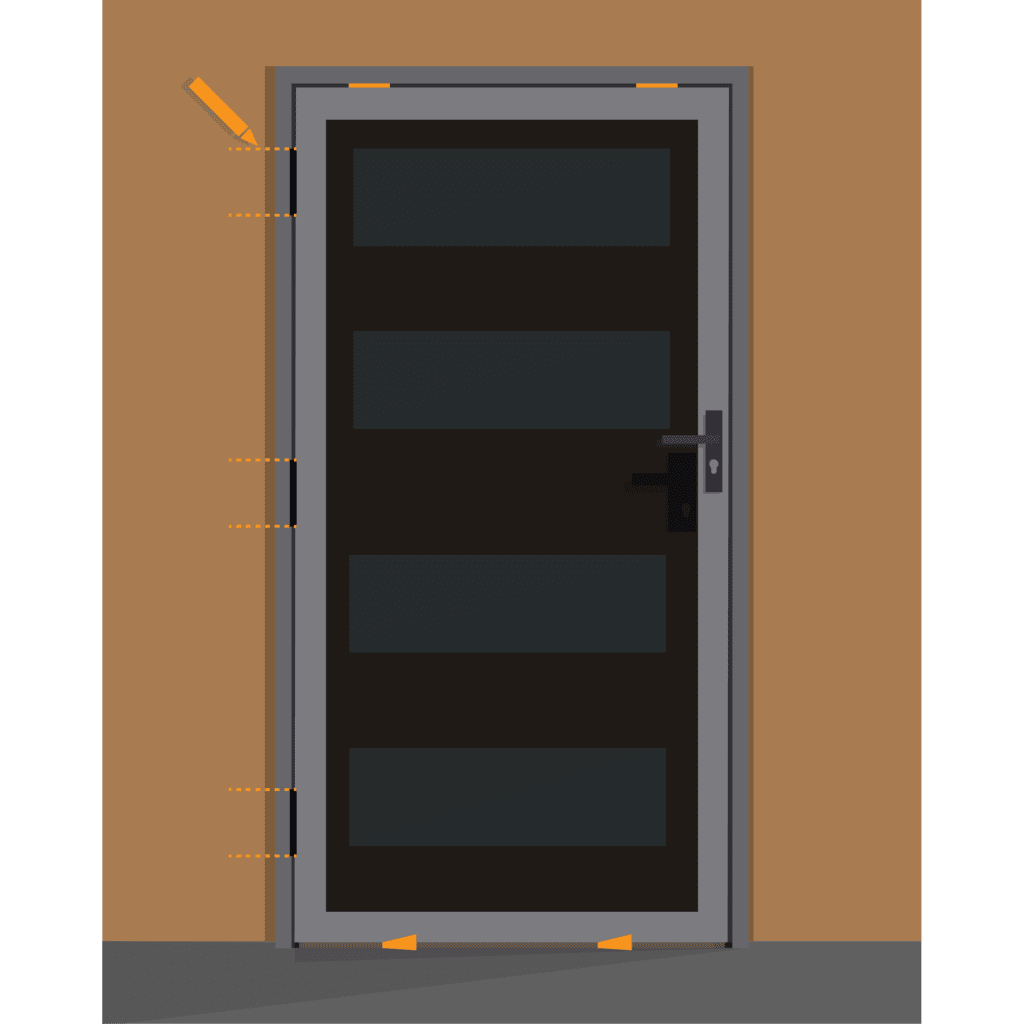
Insert the 4 x Clear 6mm Spacers into the top ridge of the screen door. Then press the screen door into the opening, and wedge it up as much as you can using the 2 x Black Spacer Wedges.
Once the screen door is in place, mark the top and bottom of each hinge using the Lennox Security Pencil.
2. Install the door


Using the Hinge Marking Tool line the tool up between the markings of Step 1 and mark the holes.
Once all the holes have been marked, using either a second person or balancing the door safely, line the hinges up with the marked holes and screw into place.
3. Installing the Strike Plate
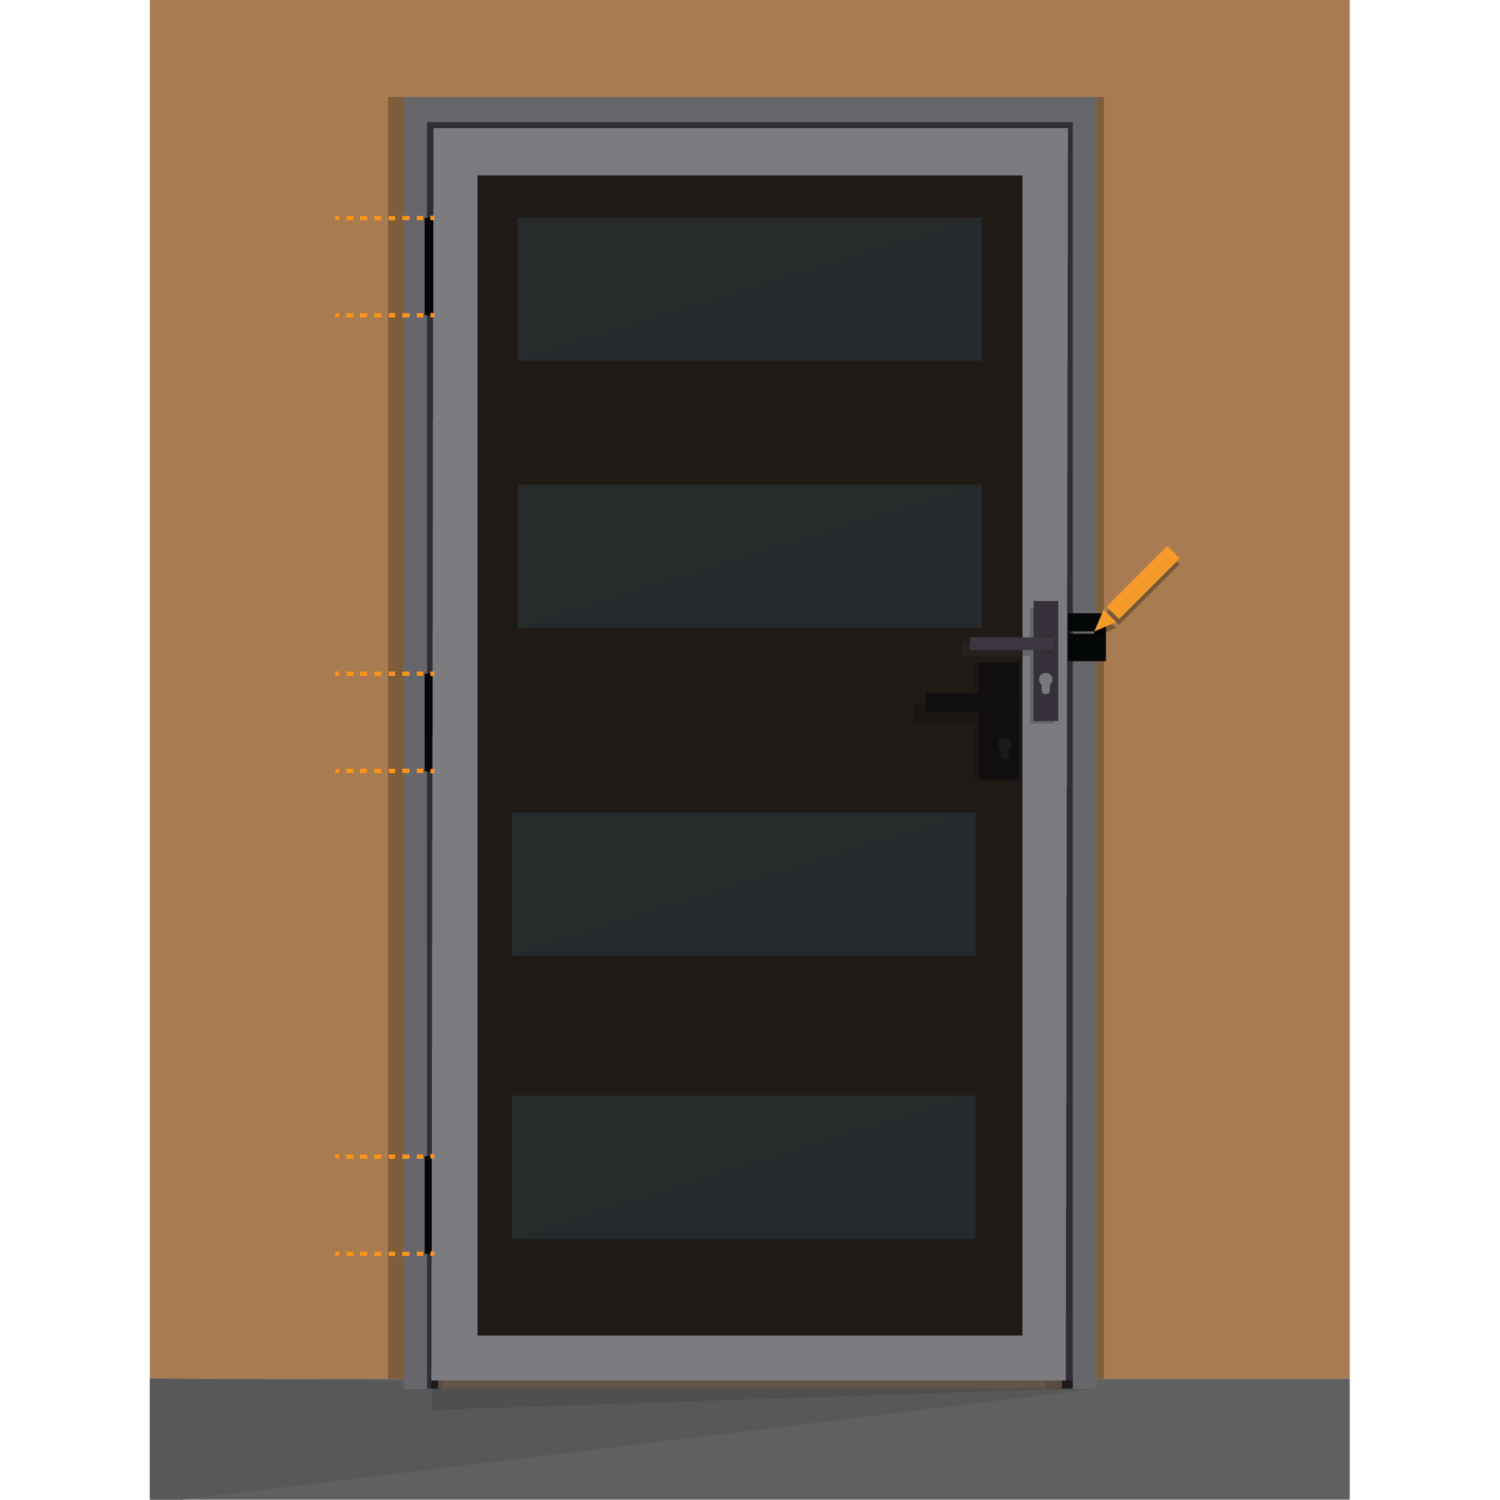
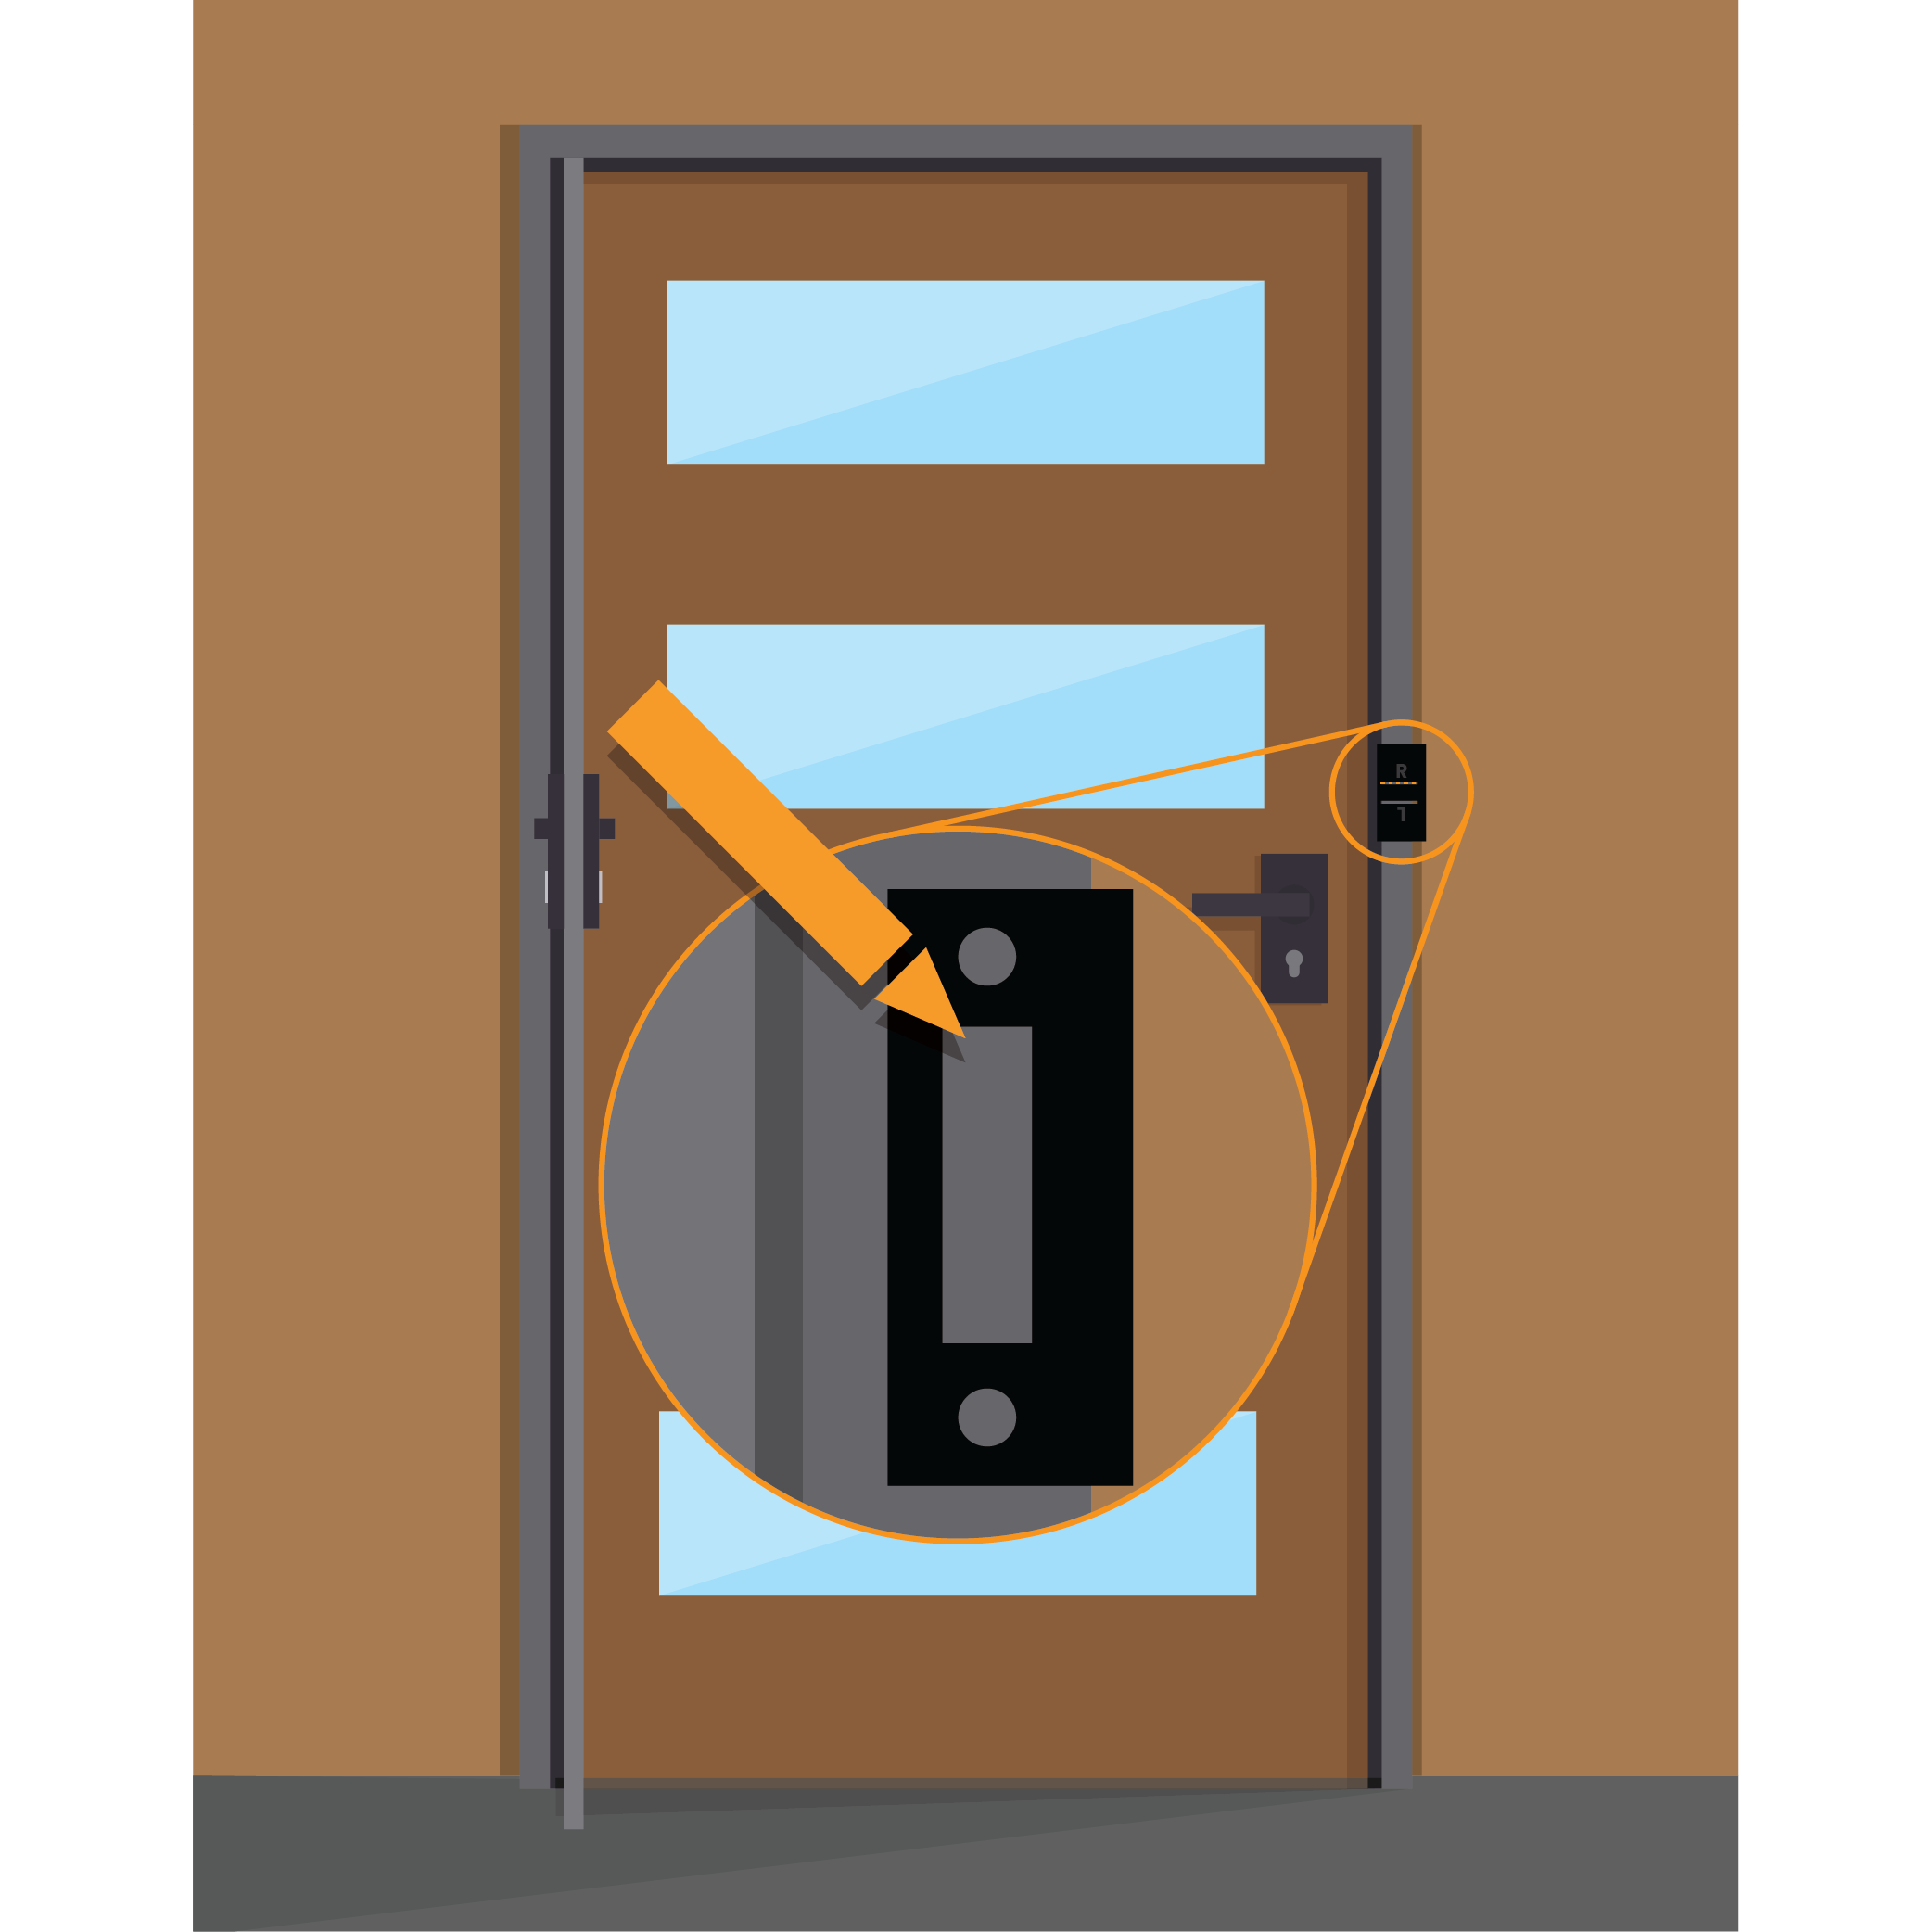

Insert the Strike Centre Tool into the opened lock and then close the door. Using the Lennox Security Pencil mark a line in the correct opening.
Then take our Strike Marking Tool and line the opening up with your centre line, then proceed to outline the rectangle and circles on the other side of the tool.
Using your new markings, chisel out the rectangle to a depth of 20mm. Once completed, mount the strike plate in place.
4. Testing the door

Once you’ve installed the door completely, open and close to make sure the door swings freely. Test the locking mechanism to make sure it is functioning correctly before proceeding.
5. Installing the accessories

Depending on whether or not you have added accessories to your order you might be able to skip this step. Accessories can include but are not limited to Door Closers and Bug Strips.
If you have accessories to be installed, check the instruction manuals that have been packaged with them for installation.